
What to Do Immediately After Storm Damage to Your Roof
Published · Related to Storm Damage Roofing
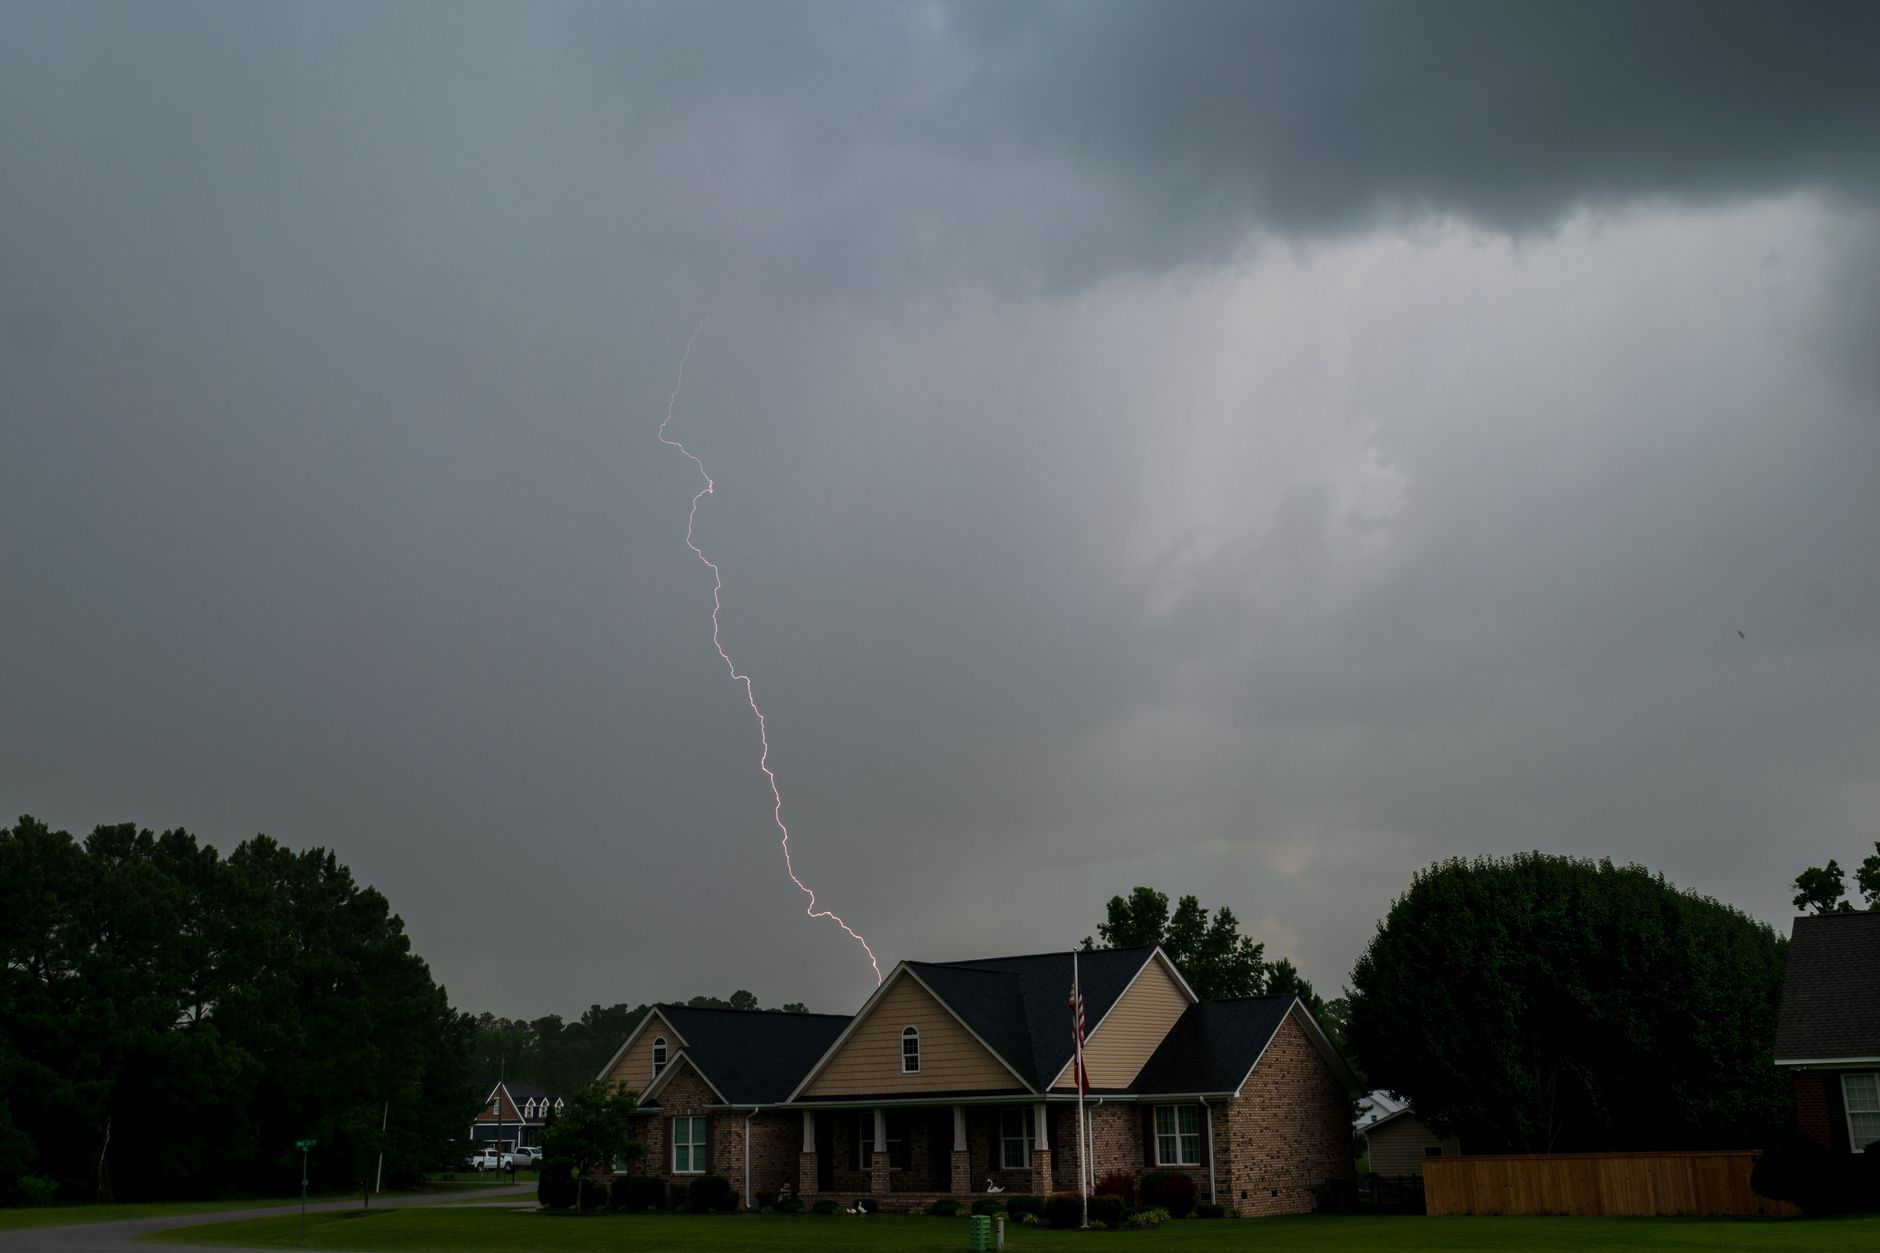
Storm damage happens fast, and what you do in the hours right after matters — both for your immediate safety and for how smoothly the repair and insurance process goes afterward. Here’s a clear order of operations.
Step One: Confirm Safety First
Before doing anything else, check for immediate hazards: downed power lines near the property, unstable tree limbs that could fall further, or any structural concerns like a visibly sagging roofline. Stay off the roof entirely — storm-damaged roofs are often wet, unstable, or have compromised decking that makes DIY access genuinely dangerous, not just inadvisable.
Step Two: Check for Active Water Intrusion Inside
Walk through your home’s upper floors and attic if accessible, checking for any active dripping, new stains, or dampness. If water is actively entering, place containers to catch it and move any valuables or furniture out of the way while you arrange for professional help.
Step Three: Document Everything While It’s Fresh
Photograph visible damage from multiple angles — missing or displaced shingles, damaged gutters, any debris on the roof or in the yard that suggests what happened. Note the approximate time and nature of the storm if you can. This documentation matters more than people expect, both for insurance purposes and for giving a roofer accurate context before they arrive.
Step Four: Call for Professional Emergency Assessment
Whether you call us or your insurance company first, getting a professional roof assessment moving is the priority once safety and initial documentation are handled. If there’s active water intrusion, say so clearly when you call — that’s the kind of situation we prioritize for same-day response.
Step Five: Get Emergency Stabilization If Needed
If the roof has an active breach, professional emergency tarping stops the immediate water intrusion while the permanent repair gets planned. This should be done by someone experienced with proper tarping technique — secured under battens, not just weighted down — since a poorly installed tarp can fail in the next wind event.
Step Six: Start (or Continue) Your Insurance Claim
If the damage looks storm-related and significant, this is the point to formally open a claim if you haven’t already, using the documentation you’ve gathered. A written, itemized repair or replacement scope from your roofer supports this process considerably.
Step Seven: Plan the Permanent Repair
Once the immediate danger is addressed, the actual repair or replacement timeline can be scheduled based on the extent of damage, material availability, and your insurance claim’s progress, without the pressure of an ongoing active leak forcing rushed decisions.
What Not to Do
Don’t climb onto a storm-damaged roof yourself to assess or attempt repairs. Don’t wait to document damage, since photos taken well after the fact are less useful for insurance purposes. And don’t assume minor-looking damage is nothing — a professional assessment costs you nothing to find out, and catching a problem early is almost always cheaper than discovering it later as a bigger one.
Frequently Asked Questions
What's the very first thing I should do after noticing storm damage?
Should I call a roofer or my insurance company first?
Is it safe to try to tarp my own roof after a storm?
How quickly does storm damage need to be addressed?
What if I'm not sure whether what I'm seeing is actually storm damage?
Related Services
Related Reading
Ready for a Roof That Lasts Through Cleveland Winters?
Get a free, no-pressure inspection and written estimate from a local crew.